
Working with SAP ASE snapshots
Taking a snapshot creates a new snapshot entry in the dSource’s Timeflow.
Snapshot
This section lists the steps to take a snapshot and delete the same.
Login to the Delphix Management application.
Click Manage and select Datasets from the dropdown list.
Select the dSource you want to Snapshot.
Click the Camera icon.
Select the method to take the snapshot. See Quick Start Guide for SAP ASE for information on Delphix Managed Backups.
You can optionally select the Enable checkbox under Drop and recreate devices. This option can be used if the previous sync failed because of device mapping issues. When the sync operation is performed with this option set to true, Delphix Engine will not try to re-map the existing devices; instead, it will delete them and create new devices on the staging database. This option should only be used if the previous sync had failed due to device remapping, as this will increase disk usage.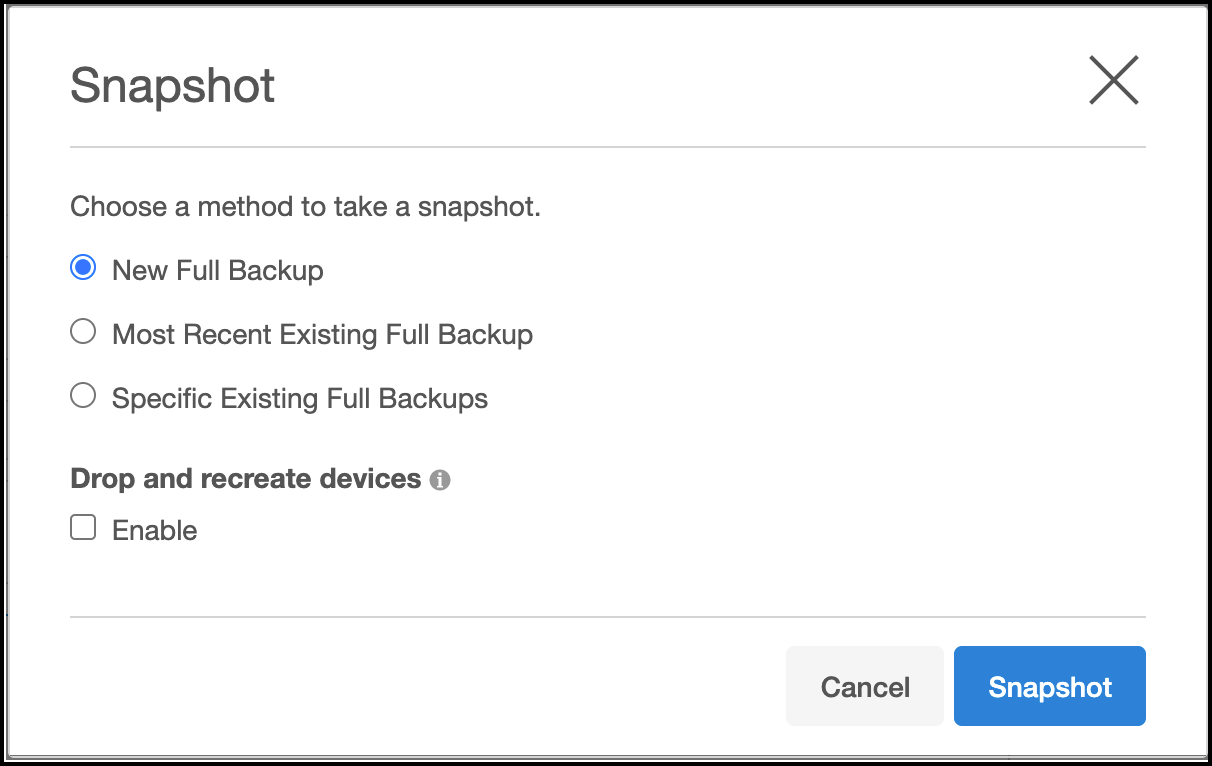
From the Snapshot dialog, click Snapshot.
Under the Timeflow tab, choose an option to view the snapshot and verify the snapshot you just created.
To delete, select a snapshot you want to delete, and from the Actions menu (...) select Delete Snapshot.
Under the Timeflow tab, choose an option to view the snapshot and verify the snapshot you just deleted.