Replication with Delphix-Initiated backups (binlog replication)
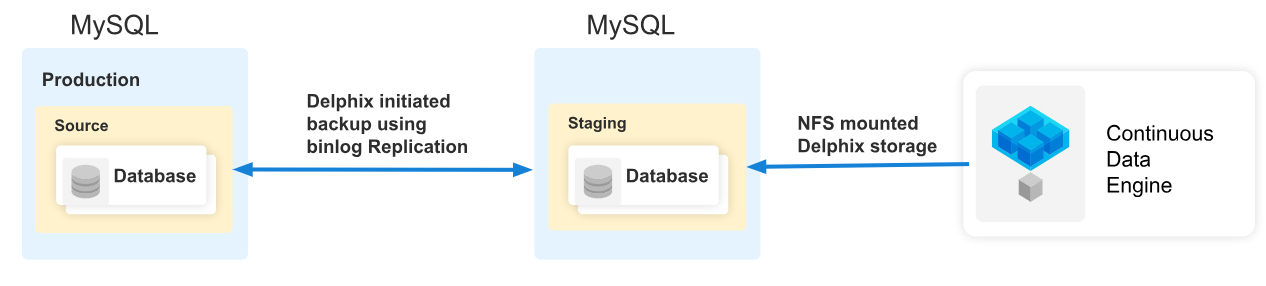
Delphix Continuous Data Engine creates a staging database using an initial backup from the source database in this ingestion method. The connector creates the initial backup by connecting to the source database. Delphix Continuous Data Engine configures MySQL native replication (binlog replication) from the source database to the staging database to ensure that the staging database remains in sync with the source database.
Binlog replication will automatically apply logs (as available from the source) to the staging database (in smaller increments). Then the next snapshot operation will snapshot the current state of the staging database up to the latest binlog that was applied. In Delphix-Initiated backup, a resync operation on the connector can be performed to take another full backup from the source database and restore it to the staging database.
The following diagram demonstrates the ingestion architecture of Delphix Continuous Data Engine’s support for MySQL databases with replication between the source and staging databases.
Prerequisites
Before you begin database ingestion and creating a dSource, ensure that you meet the following requirements.
The environment requirements are met by the source and staging environments as described in Requirements for MySQL source hosts and Requirements for MySQL staging/target hosts
The environment user must have the necessary permissions to access the MySQL commands.
A Database must be created on the staging environment's MySQL installation.
For more information, refer to Requirements and Prerequisites.
Procedure
Perform the following steps to create a dSource using the Delphix-initiated single database backup ingestion.
Login to the Delphix Management application.
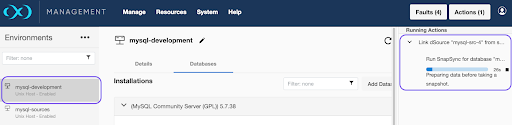
Navigate to the Manage > Environments page and select the staging environment from the list of environments.
On the Databases tab, choose an installation for your dSource and click the plus icon.
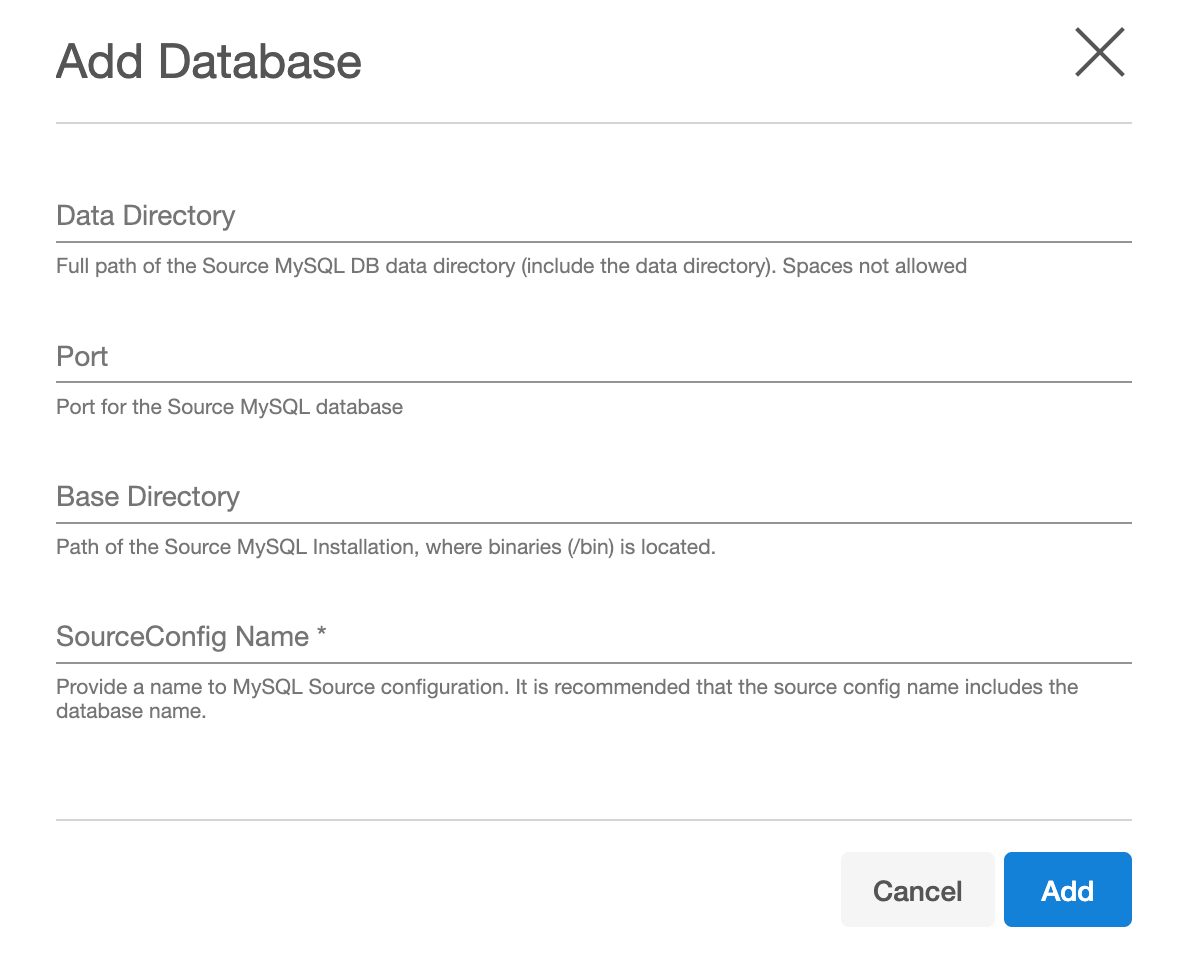
In the Add Database dialog window, provide the Data Directory, Port, Base Directory of the source database, and SourceConfigName for your source configuration, and then click Add. It is necessary to provide values for all the fields for the Replication ingestion type.
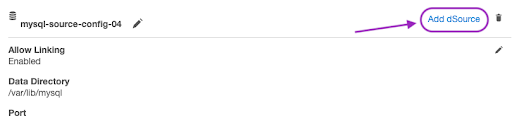
Select your source configuration and click the Add dSource link located on the right.
On the Source tab, the selected MySQL source configuration will appear as selected by default. Do the following:
Select Replication from the Ingestion Type dropdown, it will show all the fields relevant to the Replication ingestion mechanism.
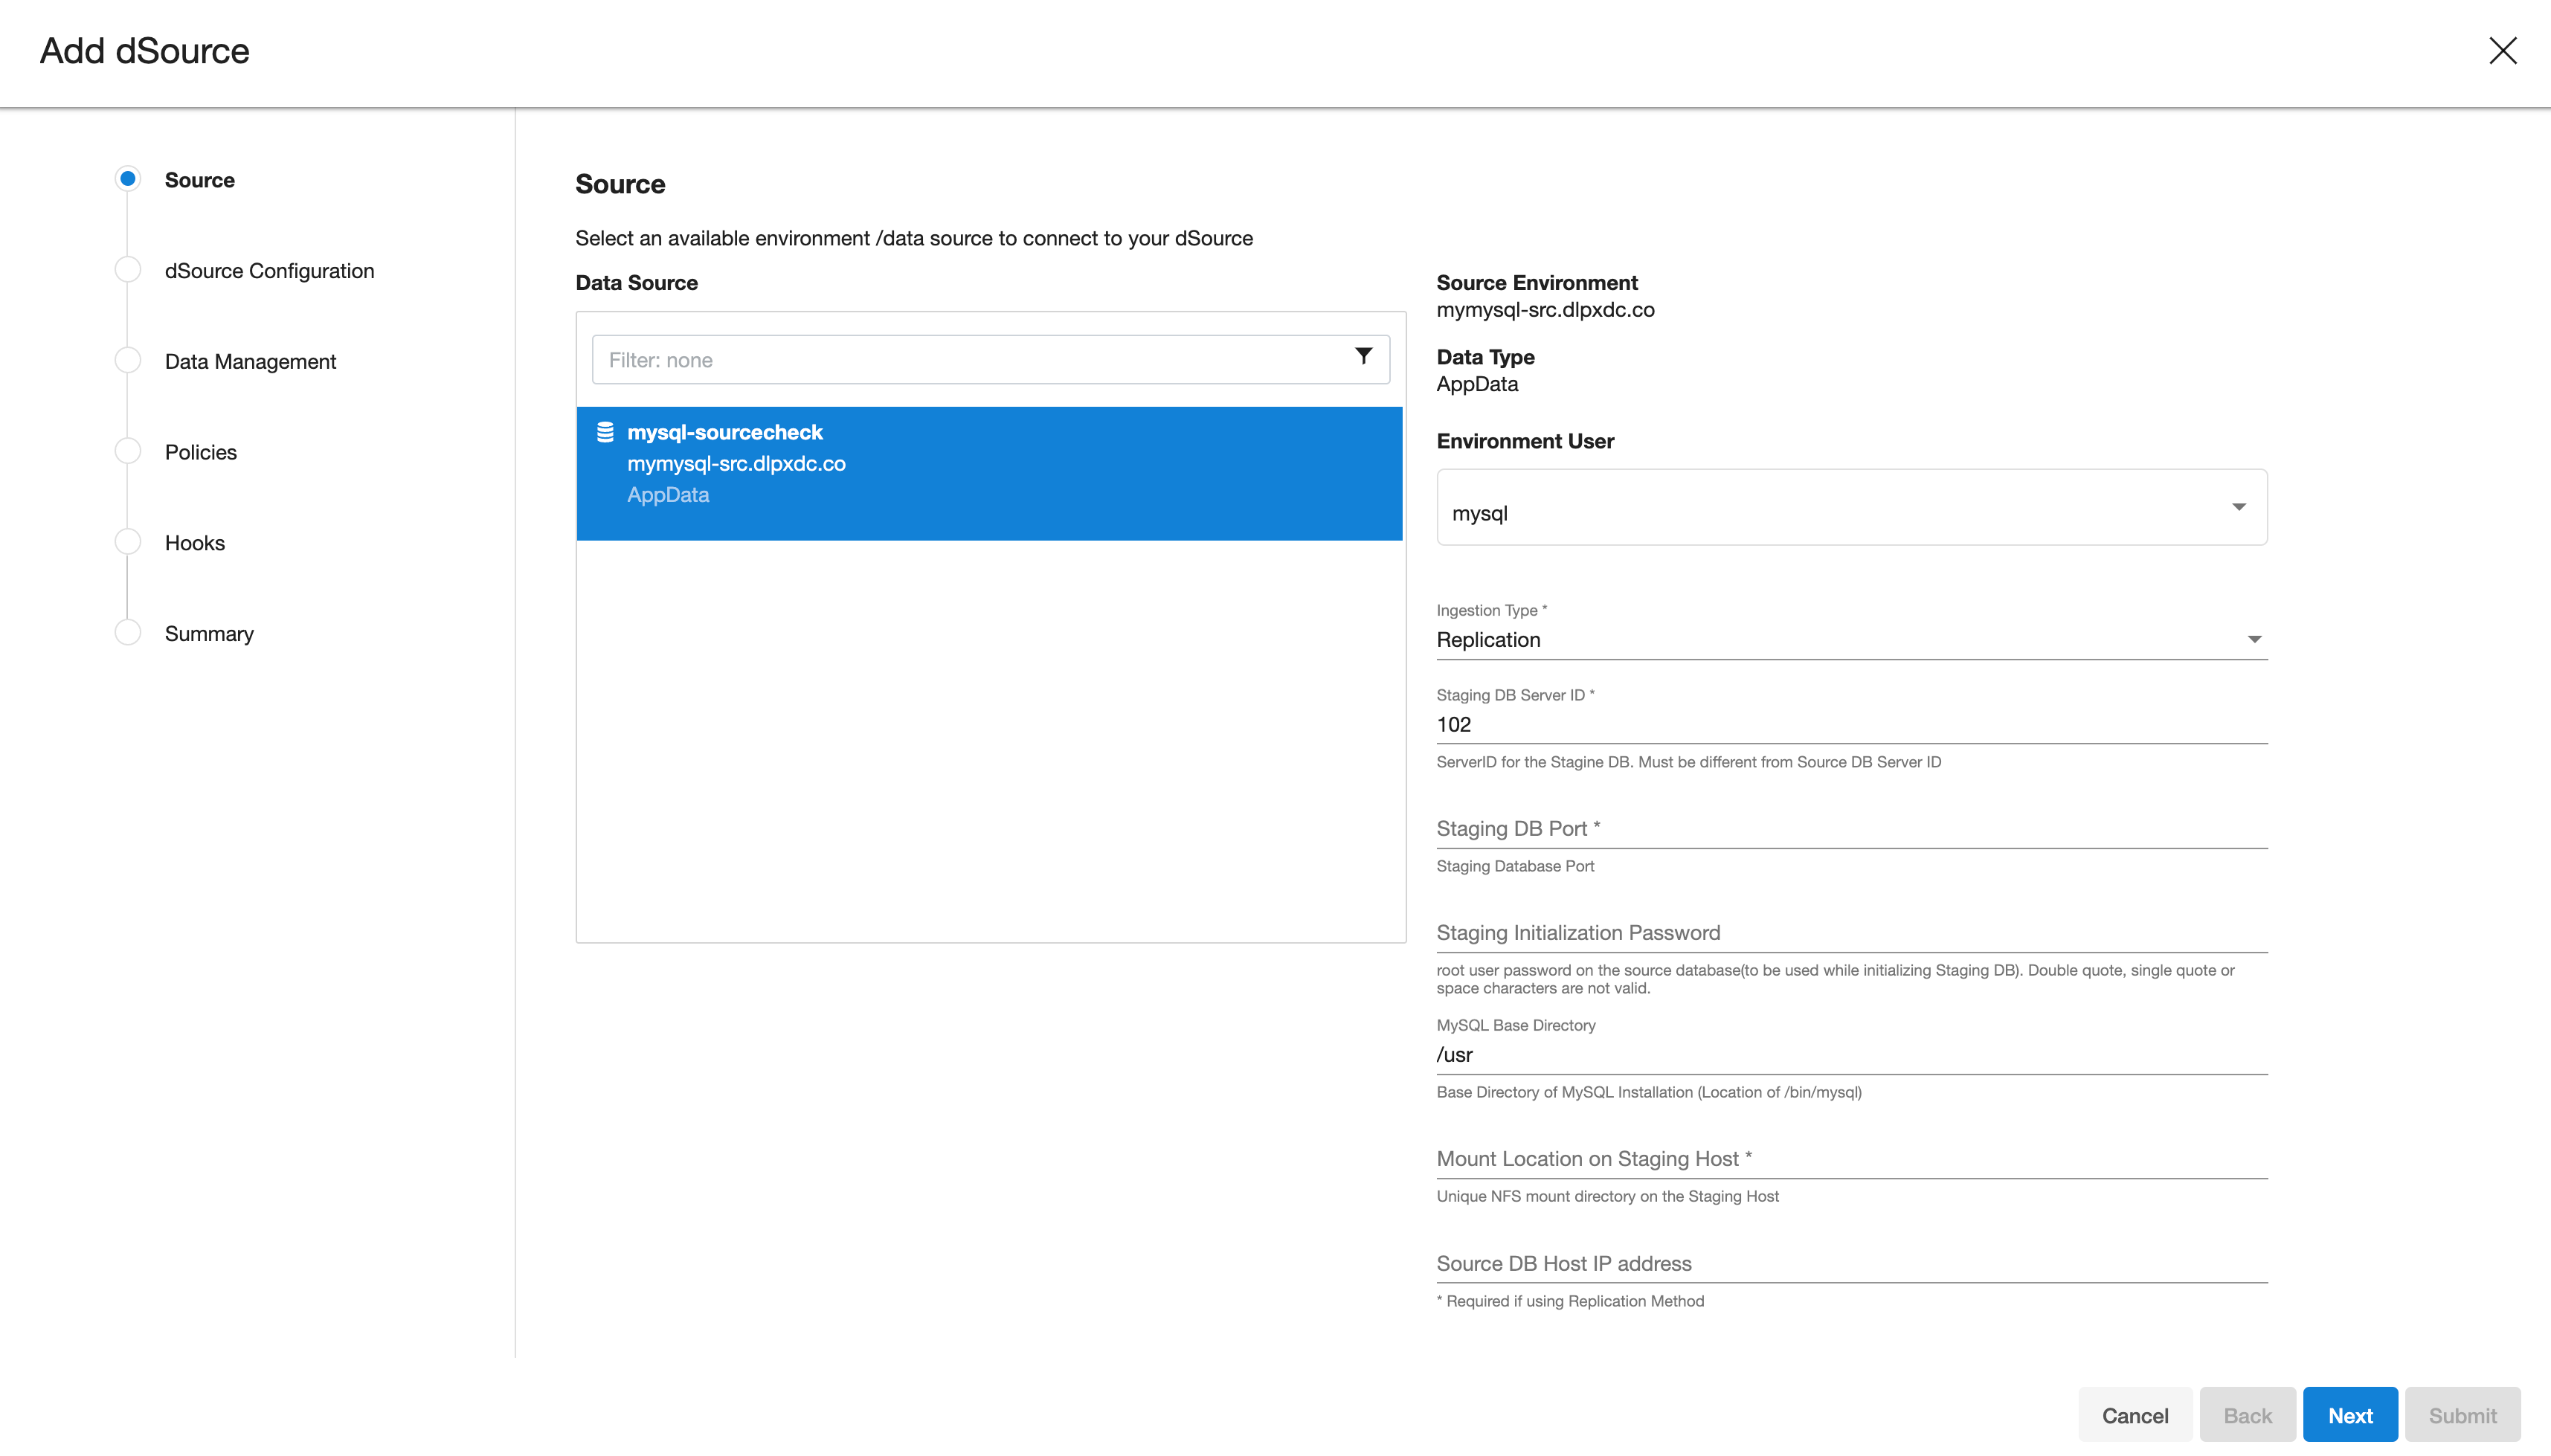
Staging DB Server ID: This is the Server ID for the dSource database. For Replication Mode, this server-id must be greater than the source database server id.
Staging DB Port: The port number used by the staging dSource instance. This port should not be used by any other application or MySQL server.
Staging Initialization Password: This is the Password that the connector uses when it initializes the staging database MySQL instance. This password will be assigned to the 'root' user of the staging database. This password will be used only for the first time the staging database instance is initialized. Note: Once replication starts, this password will be updated with Source DB’s root user password.
MySQL Base Directory: Please provide the location of the MySQL installation directory. This generally has the location of /bin/mysql.
Mount Location on Staging Host: This is the Delphix mount directory on the staging host. This location should be unique and unoccupied. Additionally, refer to Requirements for MySQL staging/target hosts to understand user privileges to create mount directories.
Source DB Host IP Address: IP Address or FQDN of the source host.
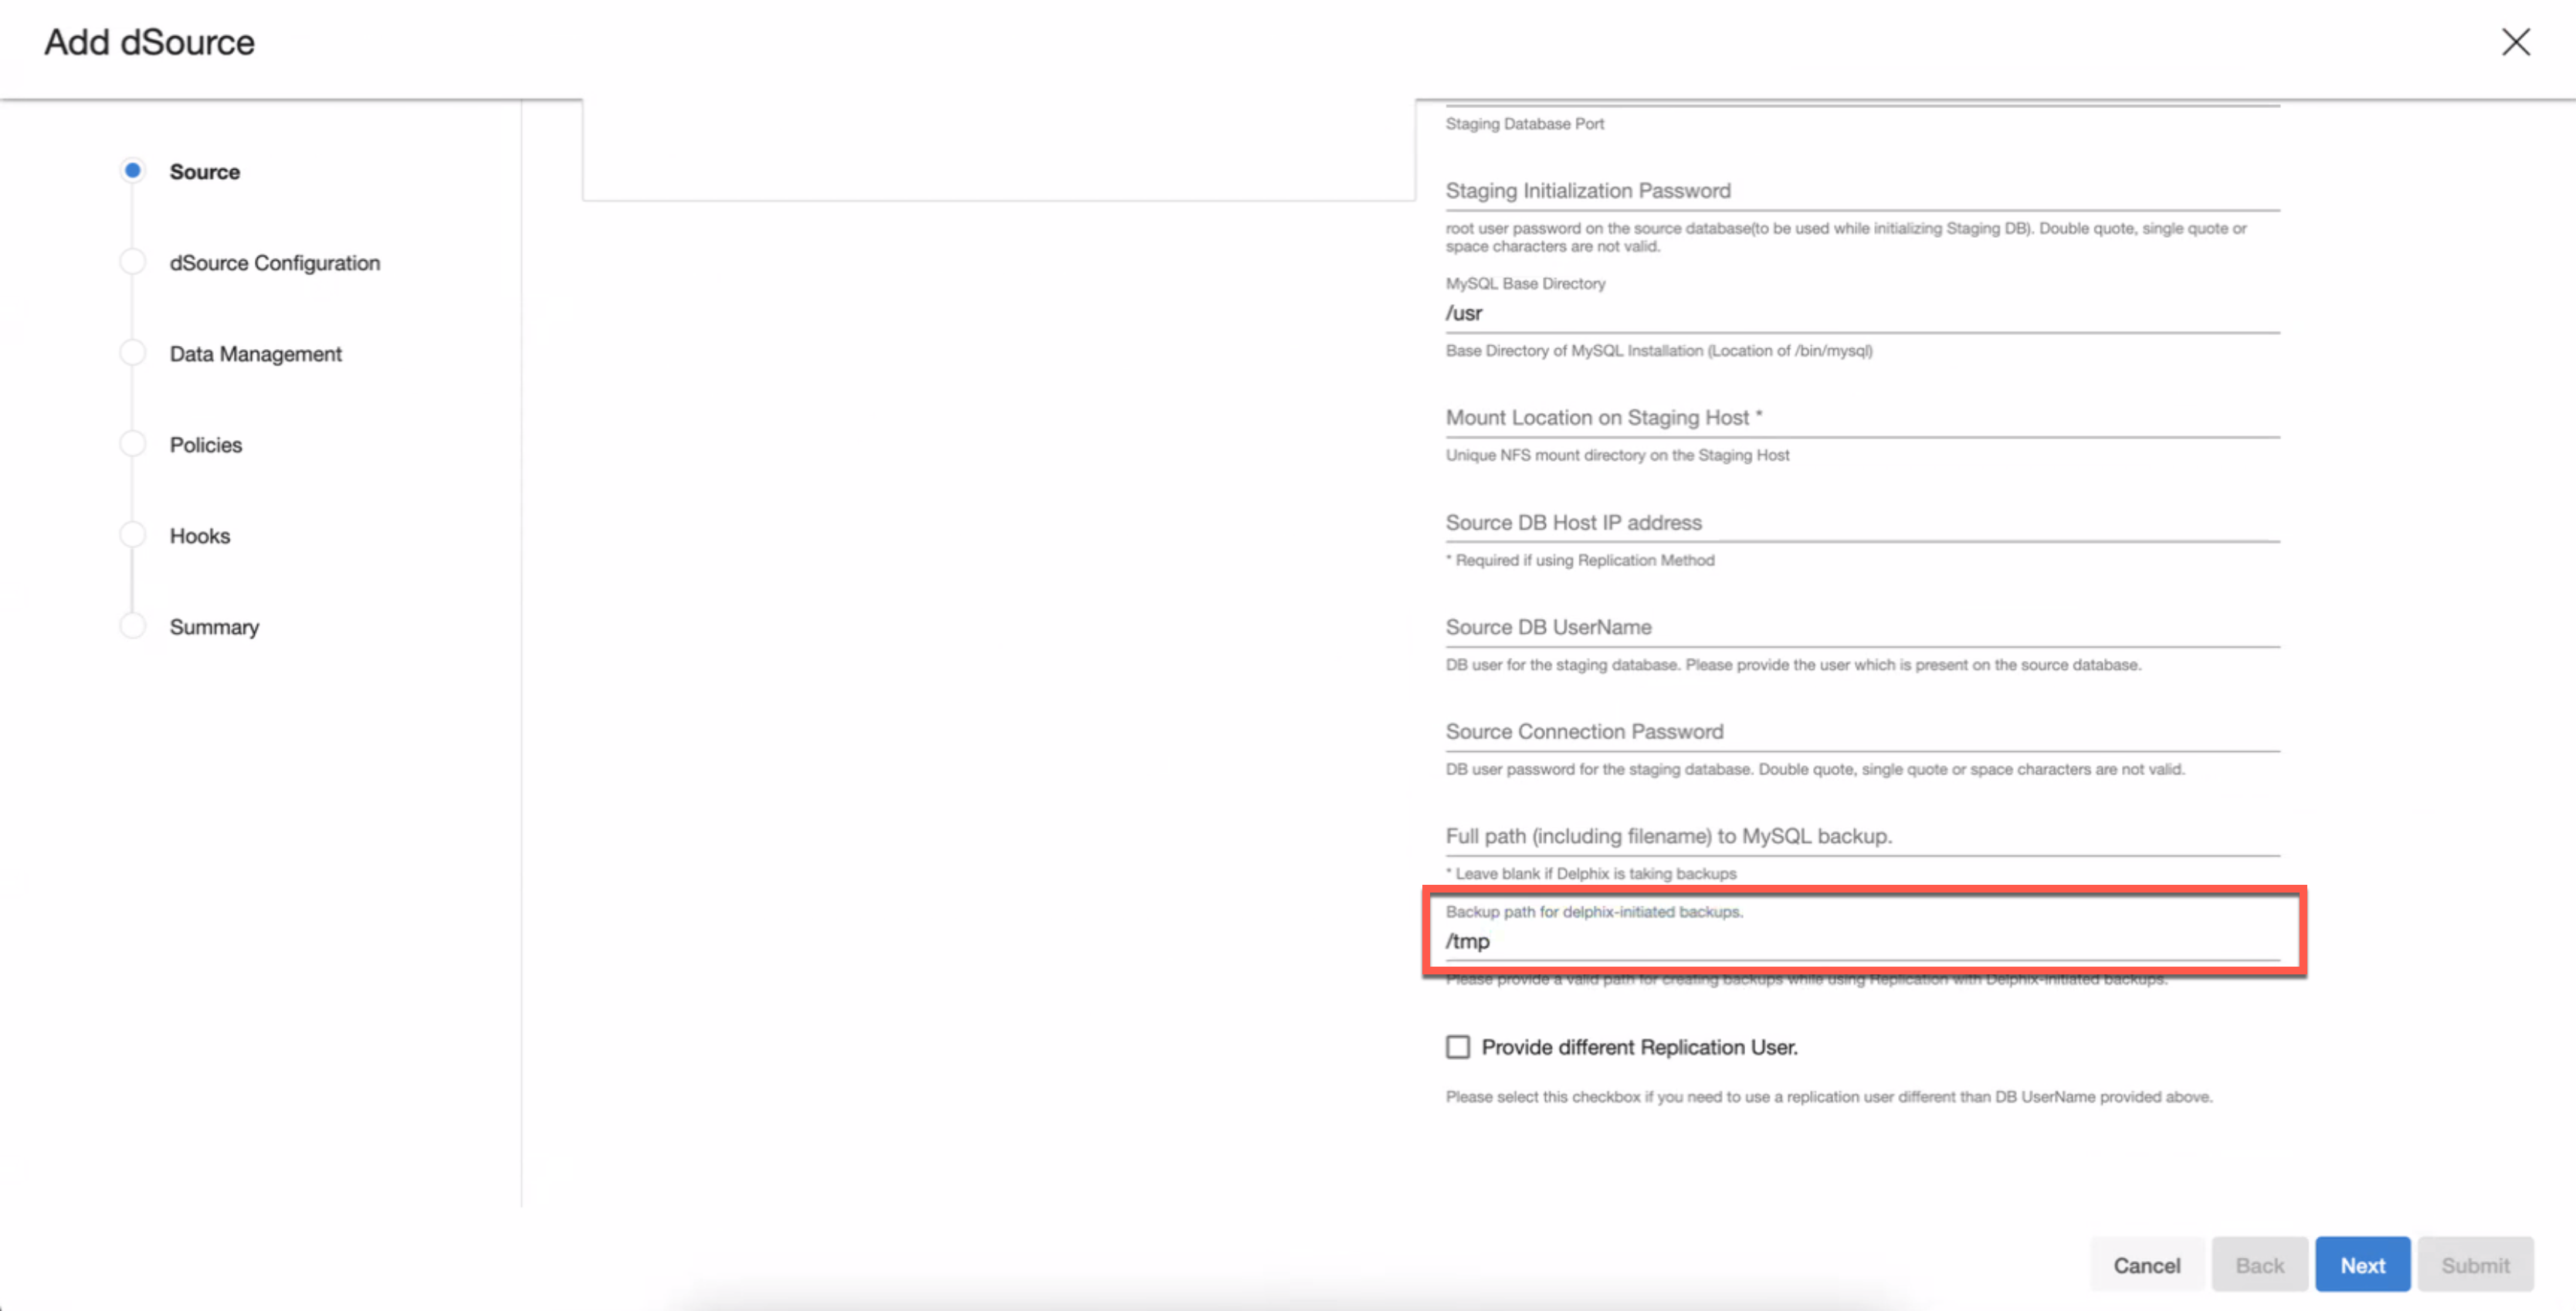
Source DB UserName: Delphix database user that was created on the source database (refer Requirements for MySQL source hosts). When the initial backup is created or restored, this user is also created on the staging database. If Delphix Continuous Data Engine is initiating the backup generation of the source, Delphix Continuous Data Engine will connect to the source database using the Source DB UserName. This db user will be used by Delphix Continuous Data Engine to manage the dSource and sync operations.
Source Connection Password: Password for the above source database user.
Full path (including filename) to MySQL Backup: Do not enter anything in this field for this ingestion method. This field is meant to be filled only in case of Replication with Externally Initiated backup.
Backup path for Delphix-initiated backup: Please provide a valid path for creating backups while using Replication with Delphix-initiated backups. By default, the value is /tmp. Make sure that there is proper privileges for the folder which is provided.
Provide different Replication User: The users can provide different Replication user credentials by selecting this checkbox, as illustrated in the image below. Providing separate replication user credentials is optional. If this checkbox is not selected, the source database user provided above will be used for replication.
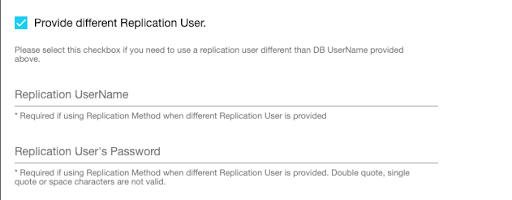
Replication UserName: user with replication privileges to configure replication from source to staging db. If this user is not provided, then the Delphix Continuous Data Engine uses the Source DB user for replication, as mentioned in steps g and h.
Replication User’s Password: The password for the Replication username.
On the dSource Configuration screen, select the dataset group where the dSource will be placed and click Next.
On the Data Management screen, select the staging environment and the environment user. Please note that there will be a checkbox with the label “Resynchronize dSource“ on this page, this will be checked by default. This is needed to initialize and refresh the mysql staging database. Please keep it as it is and click Next.
On the Policies screen, select the snapsync and Retention policies for the dSource and click Next.
On the Hooks screen, add any pre-sync and (or) post-sync hooks as required and click Next.
Review the dSource configuration on the Summary screen and Submit. The Linking process has commenced. Wait for the snapshot to be created. From that snapshot, you can now create a new VDB.