
Staging push for MySQL
The Staging Push transfers the responsibility of preparing the staging database to the end user. This ingestion method allows you to manually push the source data into the mount path backed by the Delphix Storage. It offers an alternative approach to the Staging Pull model where the Delphix Continuous Data Engine takes care of preparing the dSource.
Prerequisites
A database must be created on the staging environment MySQL Dataset Home.
The environment requirements are met by the source and staging environments as described in the Requirements for MySQL source Hosts section and Requirements for MySQL staging/target hosts.
For more information, refer to Requirements and Prerequisites.
Procedure
Perform the following steps to create a dSource using the staging push ingestion method.
Login to the Delphix Management application.
Navigate to the Manage > Environments page and Select the staging environment from the list of environments.
On the Databases tab, choose a repository for your dSource and click the icon.
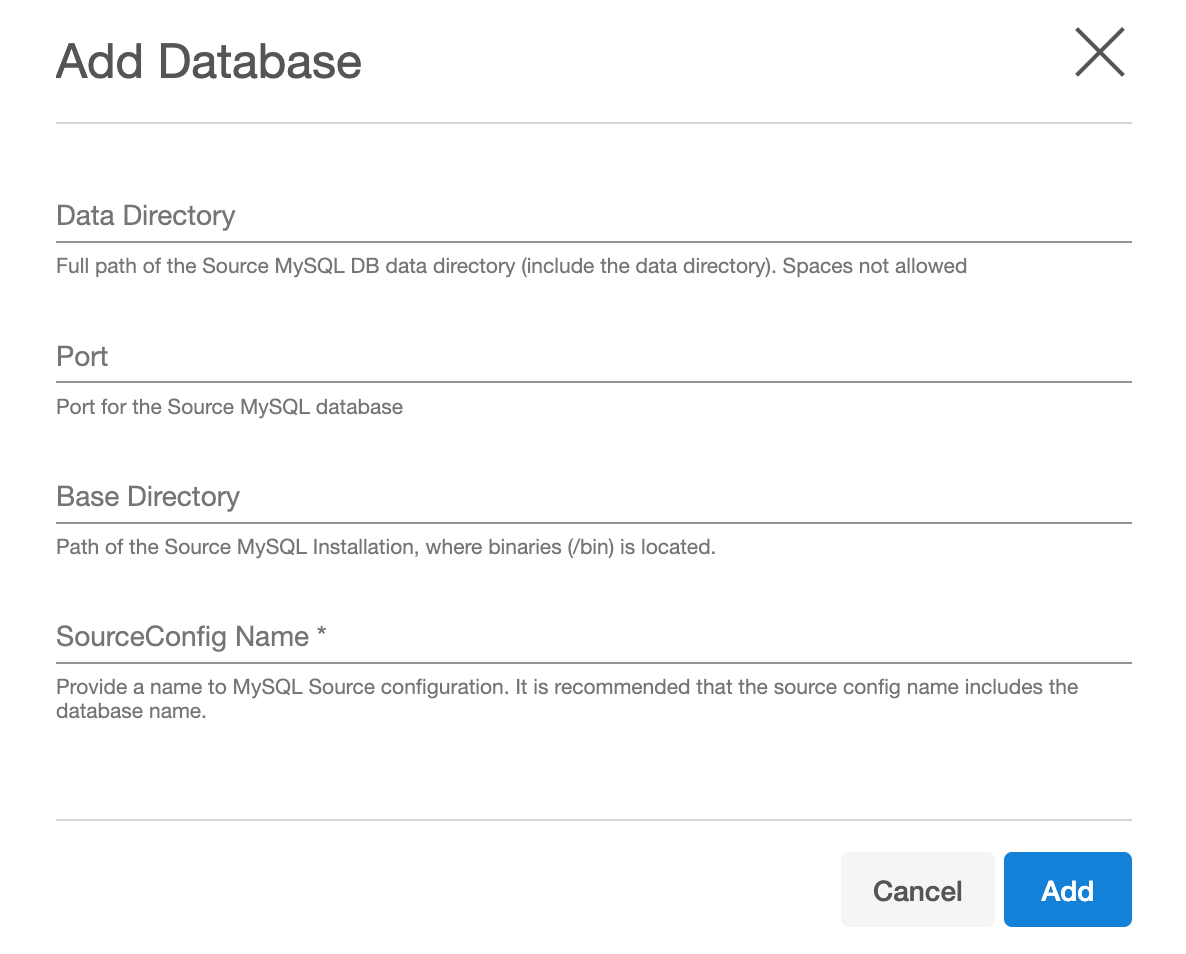
In the Add Database dialog window, provide the Data Directory, Port, Base Directory of the source database, and SourceConfigName for your source configuration, and then click Add. It is necessary to provide values for all the fields for the Replication ingestion type.
Select your source configuration and click the Add dSource link located on the right.
On the Source tab, do the following:
Select Staging Push from the Ingestion Type dropdown. The source screen will show fields/properties only relevant to the staging push.
Staging DB Server ID: This is the Server ID for the dSource database. For Replication Mode, this server id must be greater than the source DB server id.
Staging DB Port: The port number used by the Staging dSource instance. This port should not be used by any other application or MySQL server.
Staging Initialization Password: This is the password used by the connector when initializing the staging MySQL database instance. This password will be assigned to the 'root' user.
MySQL Base Directory: Please provide the location of the MySQL installation directory. This generally has a location of
/bin/mysql.Mount Location on Staging Host: This is the mount directory for Delphix Continuous Data Engine on the staging host. This location should be unique and empty.
Source DB UserName: Delphix Delphix Continuous Data Engine will be using this database user to manage the staging database and other sync operations. The connector will also attempt to create this user and grant the necessary permissions on the staging database.
Source Connection Password: Staging database user's password.
On the dSource Configuration screen, select the dataset group where the dSource will be placed and click Next.
On the Data Management screen, select the staging environment and the environment user. Please note that there will be a checkbox with the label “Resynchronize dSource“ on this page, this will be checked by default. This is needed to initialize and refresh the mysql staging database. Please keep it as it is and click Next.
On the Policies screen, select the snapsync and retention policies for the dSource and click Next.
On the Hooks screen, add any pre-sync and (or) post-sync hooks as required and click Next.
Review the dSource configuration on the Summary screen and Submit. The Linking process has commenced. Once the dSource creation is successful, the Timeflow tab should show a new snapshot. This snapshot is empty and should be ignored.

Populate the staging database instance with your latest source data through any compatible mechanism. As explained above, in this phase, you are responsible for preparing the data in your staging database instance. The database instance can be populated manually or through automation scripts.
Once the staging database instance is in the desired state, navigate to the Delphix Continuous Data Engine UI and take a new snapshot. This second snapshot can then be used to provision virtual copies.
If you wish to populate Delphix Continuous Data Engine with a more recent dataset at a later time, repeat steps 12 and 13 to create a new snapshot.