
Db2 plugin installation and upgrade
The Db2 plugin is provided as a zip file on the Delphix download site. Follow the steps below to download the plugin.
In the web browser, go to the Delphix download site.
Login to the download site using email and password credentials.
Navigate to the required version number of Delphix Engine.
Go to the Plugins > Db2 > Plugin_<version_number>.zip folder and download the zip file.
For initial installation and upgrading to a higher version refer to the section Delphix Engine Plugin Management for further details. For upgrading the Lua-based plugin to the vSDK plugin, refer to the following section.
Upgrading the Lua-based plugin to the vSDK-based plugin
The steps to upgrade from the Lua-based plugin to the new vSDK-based plugin are described below.
Procedure
Login to the Delphix Management application.
Click Manage.
Select Datasets.
You need to disable all the datasets in the Lua environment before upgrading. Click the dSource you want to disable.
From the Actions menu (...) select Disable.
Repeat the above step to disable all the VDB datasets.
Select Manage > Plugins.
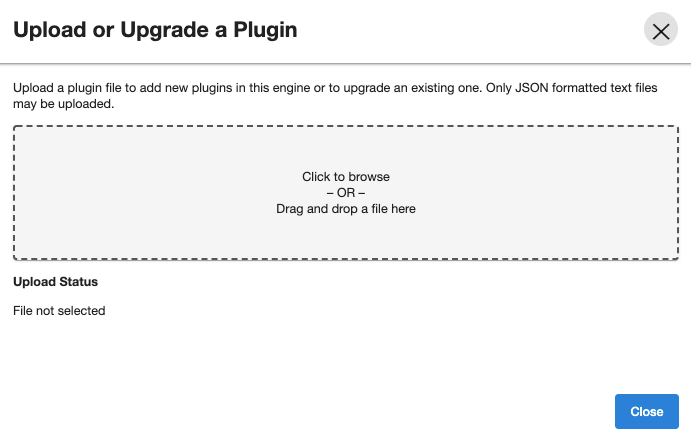
To upload a vSDK Plugin, click the

icon. This opens the Upload or Upgrade a Plugin dialog. Upload the <file_name>.json vSDK plugin.
To start using the plugin, refresh target and source environments to re-discover repositories.
You will notice the changes in the toolkit directory structure as compared to the Lua plugin environment.Note: This plugin upgrade operation will read the advanceConfFlag.conf and plugin-logging.properties files present in the Lua plugin environment and combines them to create db2_plugin.conf. This operation also creates the plugin_3.x_archives directory and moves all the Lua-specific files such as the logs directory, the code directory, and the configuration files (advanceConfFlag.conf and plugin-logging.properties) into this directory. The plugin archive directory is for reference purposes only. You can delete the same if not required.
Click Manage.
Select Datasets.
From the Actions menu (...) select Enable. This will enable the existing datasets under the new vSDK environment.
The upgrade is now complete. You can now check the logs for upgrade-related information.