
Prerequisites
See Requirements for SAP ASE Environments and Databases
Procedure
-
Login to the Delphix Management application.
-
Click Manage.
-
Select Environments.
-
From the Actions (...) menu select Add Environment.
-
In the Host and Server tab window, select Unix/Linux.
-
Select Standalone Host.
-
Click Next.
-
Enter a Name for the environment.
-
Enter the Host IP address.
-
For NFS Addresses (Optional): Enter one or more comma-separated IP Address/Hostname
Note: If specified, Delphix Engine only allows NFS requests (mount, etc) originated from IP Addresses specified for the host.
-
Enter the SSH port. The default value is 22.
-
Select a Login Type. — Username and Password - enter the OS username and password — Username and Public Key - enter the OS username. — Password Vault - select from an existing Enterprise Password Vault
Note:
Using Public Key AuthenticationIf you want to use public-key authentication for logging into your Unix-based environment, there are two options: use the engine's key pair or provide a key pair for this environment.
To use the engine's key pair:
-
Select Public Key for the Login Type.
-
Click View Public Key.
-
Copy the public key that is displayed, and append it to the end of your
~/.ssh/authorized_keysfile. If this file does not exist, you will need to create it.-
Run chmod 600 ~/.ssh/authorized_keys to allow only the file's owner to read and write to it (make sure the file is owned by the user).
-
Run chmod 755 ~ to restrict access to the user's home directory so no other user may write to it.
-
Run chmod 700 ~/.ssh so that others cannot write to it. The ~/.ssh directory cannot be writable by group or other users. Otherwise, authentication will fail.
-
As an alternative, you can provide a key pair specific for this environment via the API or CLI. See Option 2 in this CLI Cookbook article for instructions.
-
-
For Password Login, click Verify Credentials to test the username and password.
-
Enter a Toolkit Path. The toolkit directory stores scripts used for Delphix Engine operations. It must have a persistent working directory rather than a temporary one. The toolkit directory will have a separate subdirectory for each database instance. The toolkit path must have 0770 permissions.
-
To provide your own Oracle Java select the Provide my own JDK checkbox and click Next.
-
In the Java Development Kit tab enter the absolute path to your Oracle JDK and click Next.
-
Click the Discover SAP ASE checkbox.
-
Click Next.
-
In the Summary, tab confirm your selections.
-
Click Submit.
Post-requisites
After you create the environment, you can view information about it by selecting Manage > Environments and then selecting the environment name.
Configuring a non-default dump history file
Delphix, by default, uses the Dump History file that is configured for the source ASE instance. Delphix will query the source ASE instance to find this file name and use this file to find dump history. However, users can specify any other file on the source host to be used for querying the backup history. In that case, Delphix will not use the file configured for the source ASE instance but will use the file specified to get backup information. To specify a custom Dump History file, go to the source environment > Databases. Click the pencil button in front of Installation Details for the desired instance. Enter the fully qualified name of the Dump History file to be used in the text box next to Dump History File.
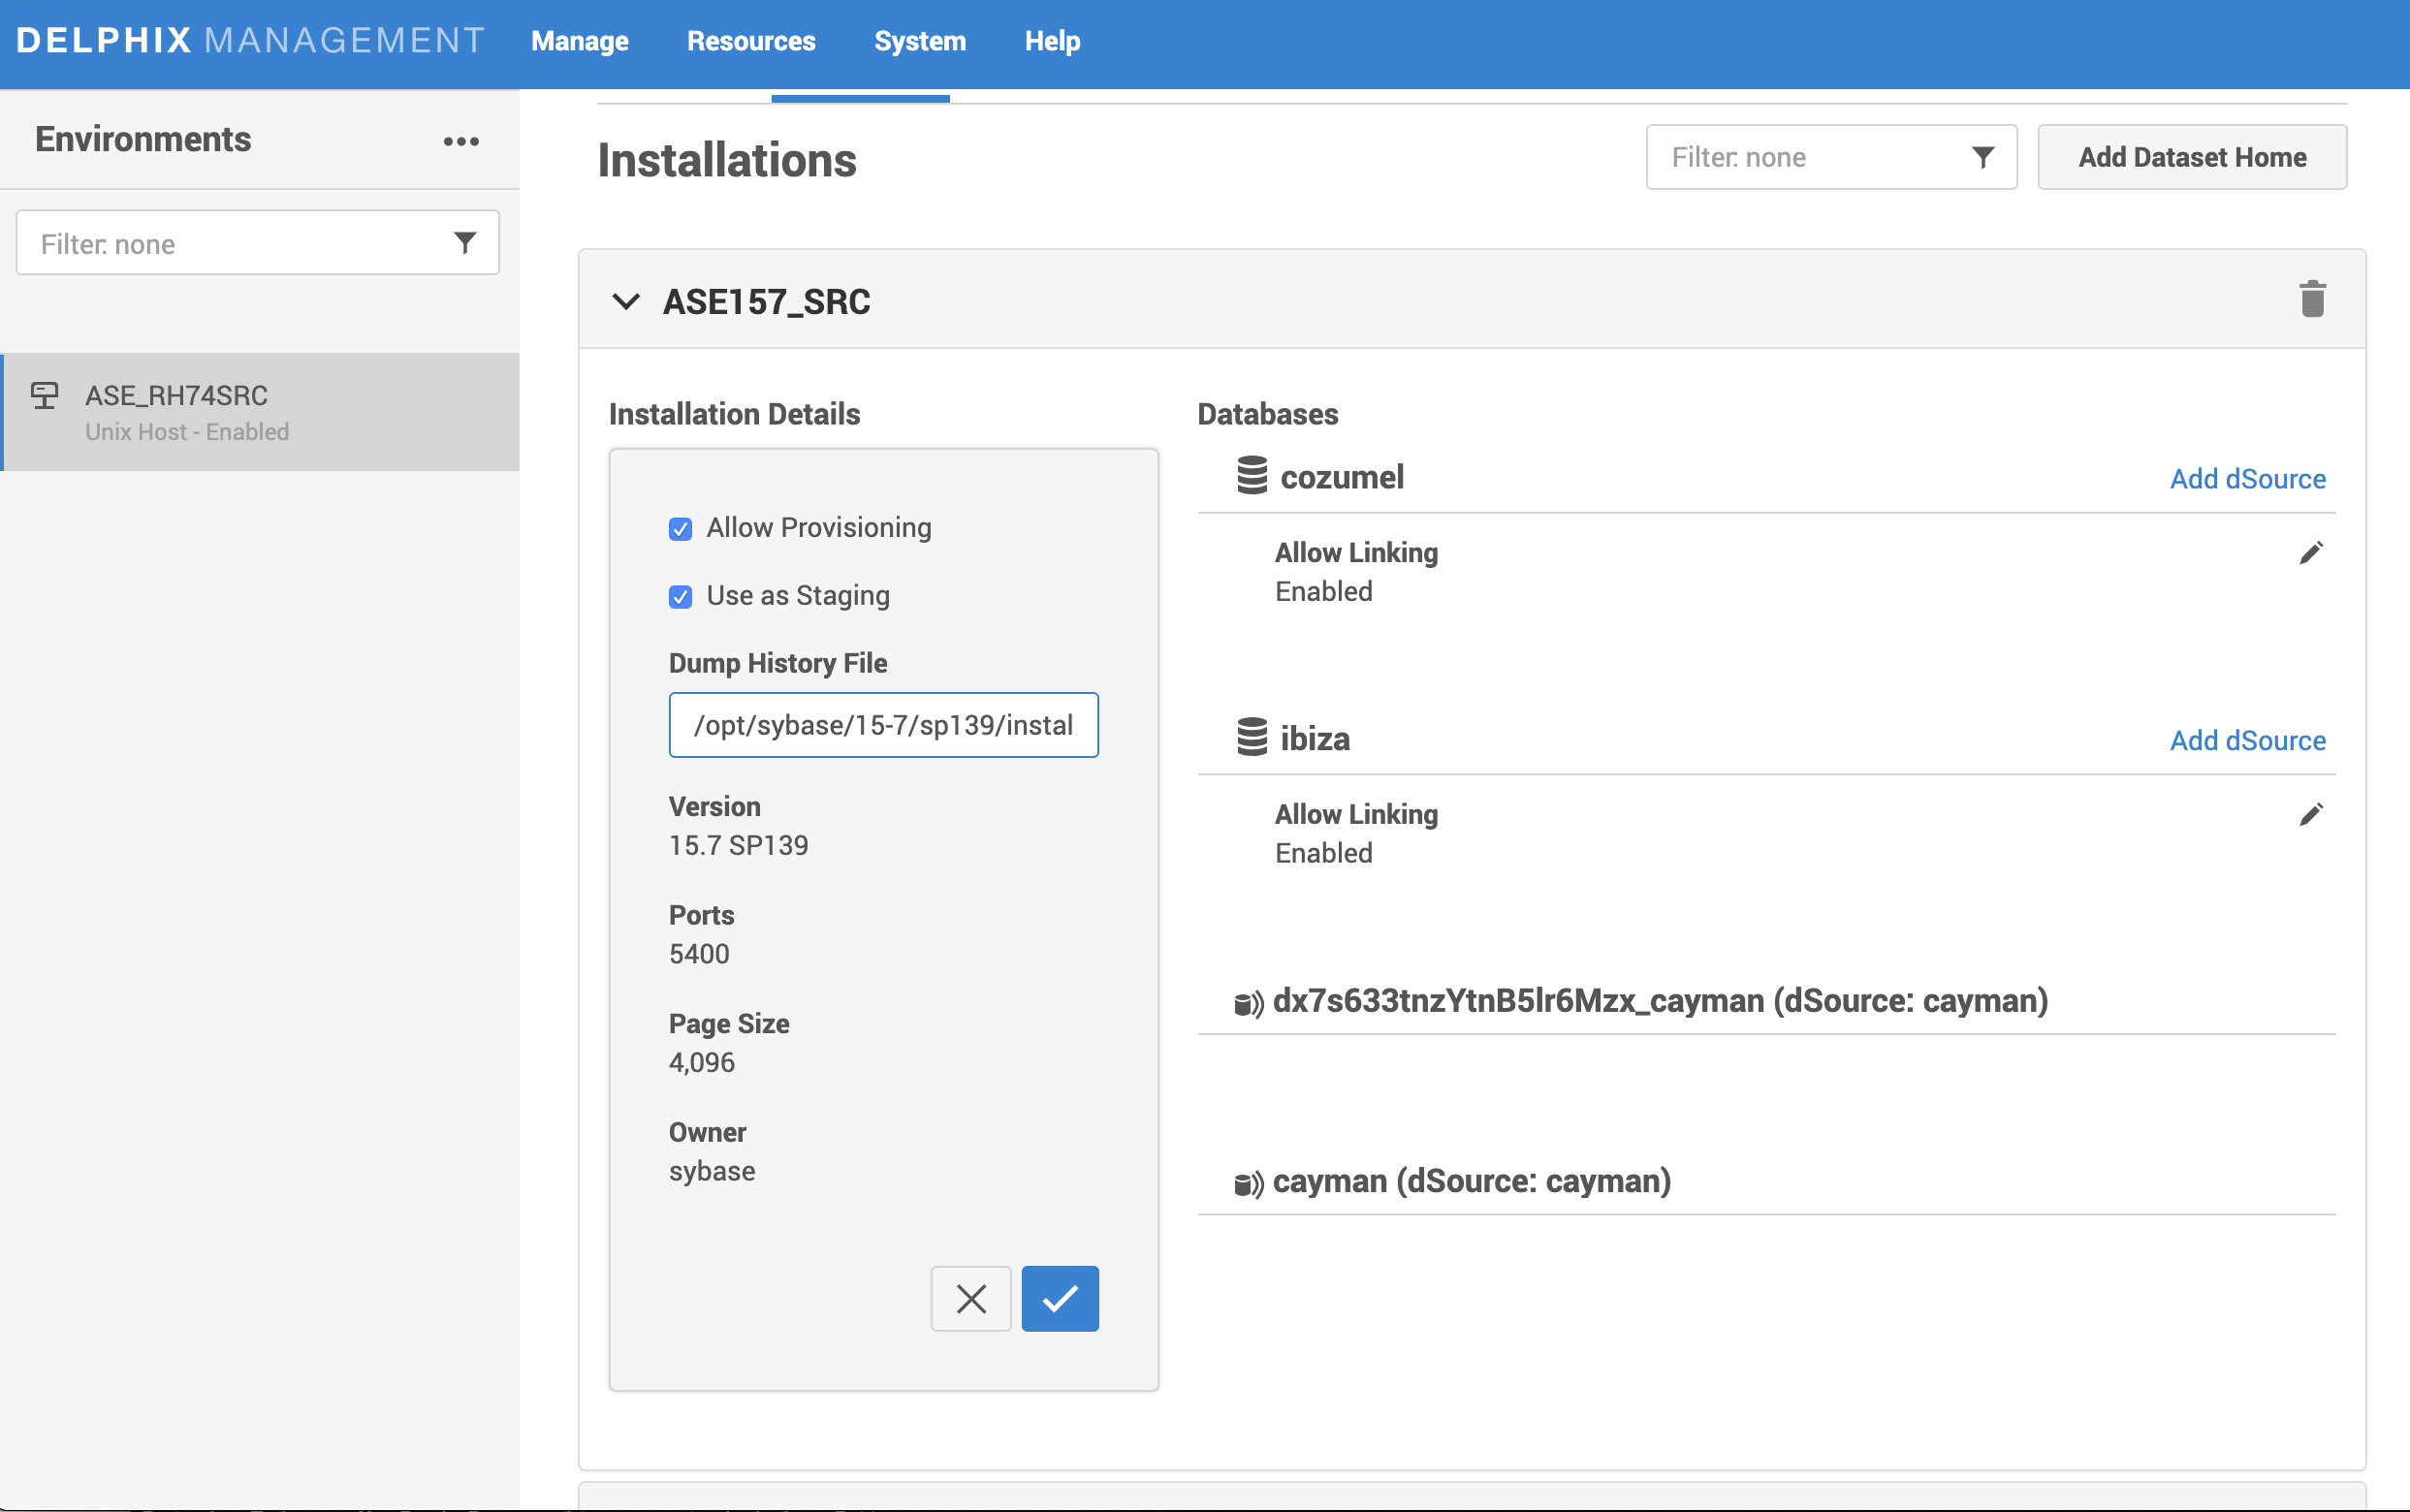
Delphix does not support rolled over Dump History Files.