
Cassandra installation and upgrade
Prerequisites
Install a Delphix Continuous Data Engine of a version compatible with the connector version of the choice. Refer the Upgrade matrix page.
Install Cassandra binaries on source, staging, and target servers.
Downloading the connector
The Connector is provided as a zip file on the Delphix download site. Follow the below steps to download the connector:
In the web browser, go to the Delphix download site.
Log in to the download site using email and password credentialsCustomer support credentials.
Go to: Delphix Product Releases > Continuous Data Connectors > Cassandra > v<version_number> > sc_cassandra-<version_number>.json and download the connector (JSON file).
Installing the connector
Login to the Delphix Management application.
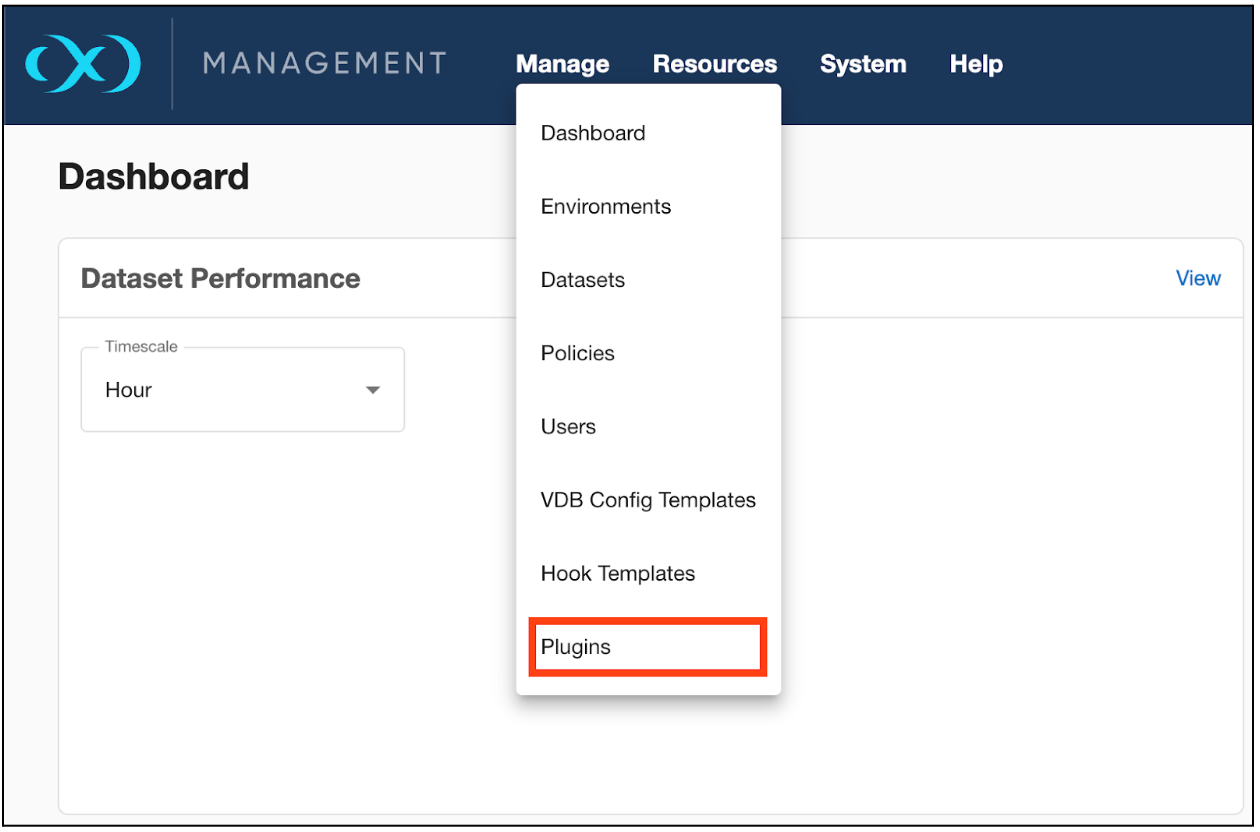
Click Manage > Plugins.
To upload a plugin, click the
 icon.
icon.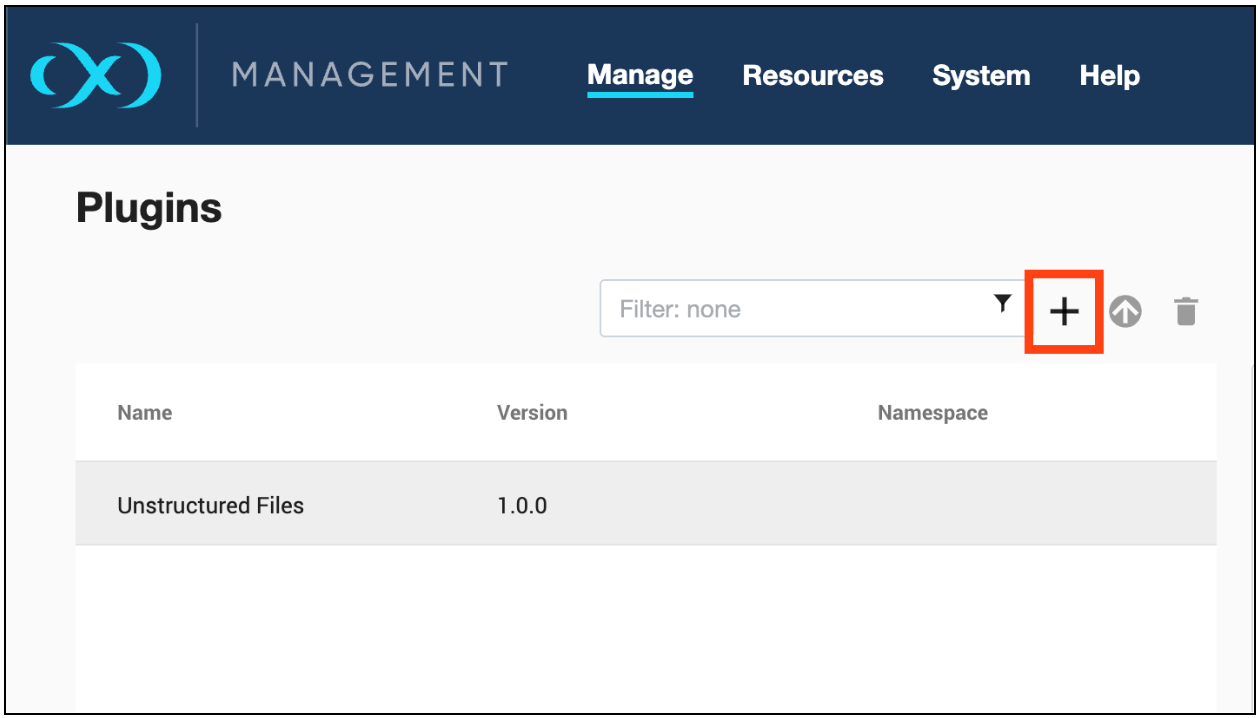
This step displays the Upload or Upgrade a Plugin dialog. Upload the <file_name>.json. For example,
sc_cassandra-<version>.json.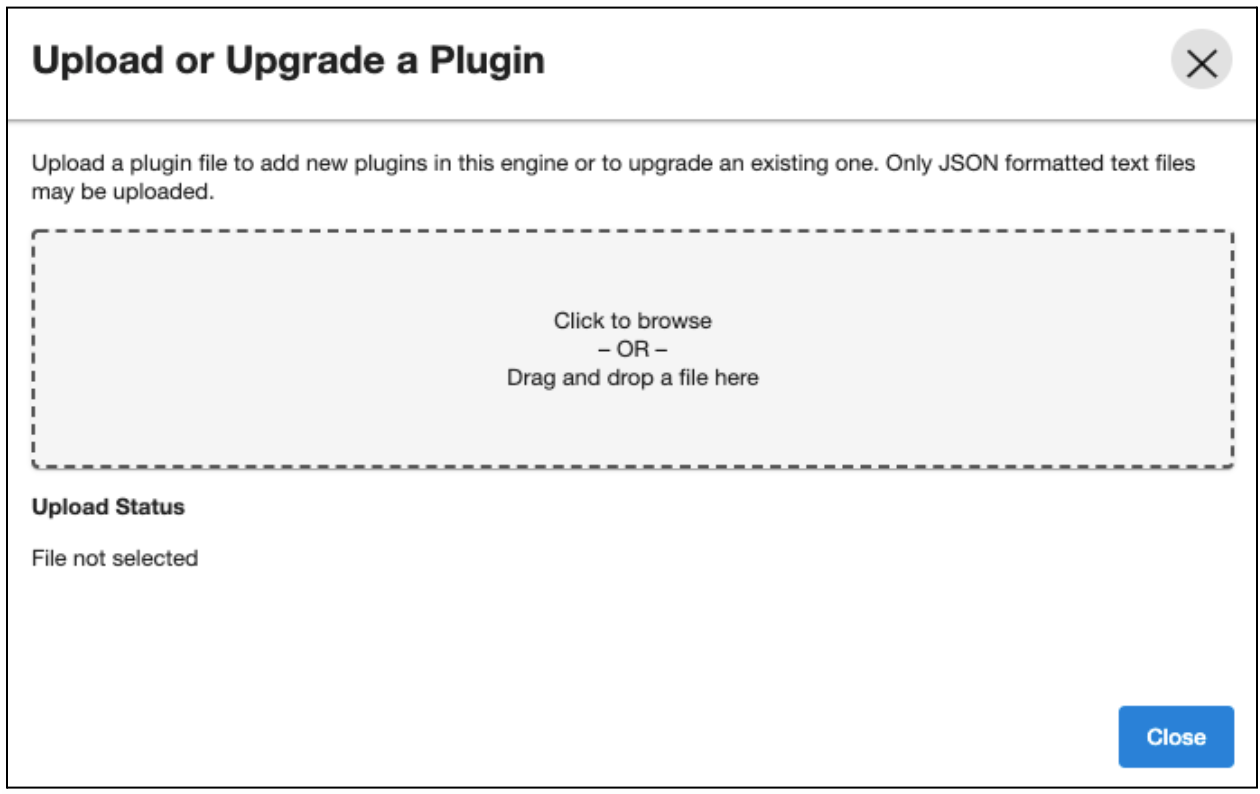
For more information, refer to the Delphix Continuous Data Engine connector management section.
Upgrade the dSource
Periodically Production and Lower environments are upgraded for various reasons like
To be in compliance
To mitigate bugs
Security concerns
To meet compatibility with other software.
Upgrading the Source database to a higher version will impact dSource snapsyncs if the version upgarded is not compatible with version of staging database. Delphix can handle the upgrade of the databases by updating the configuration in dSource.
Upgrade dSource to a higher version
Install the same version of Cassandra software on the staging host. (same version as source).
Refresh Environment in Delphix hosting Staging dSource.
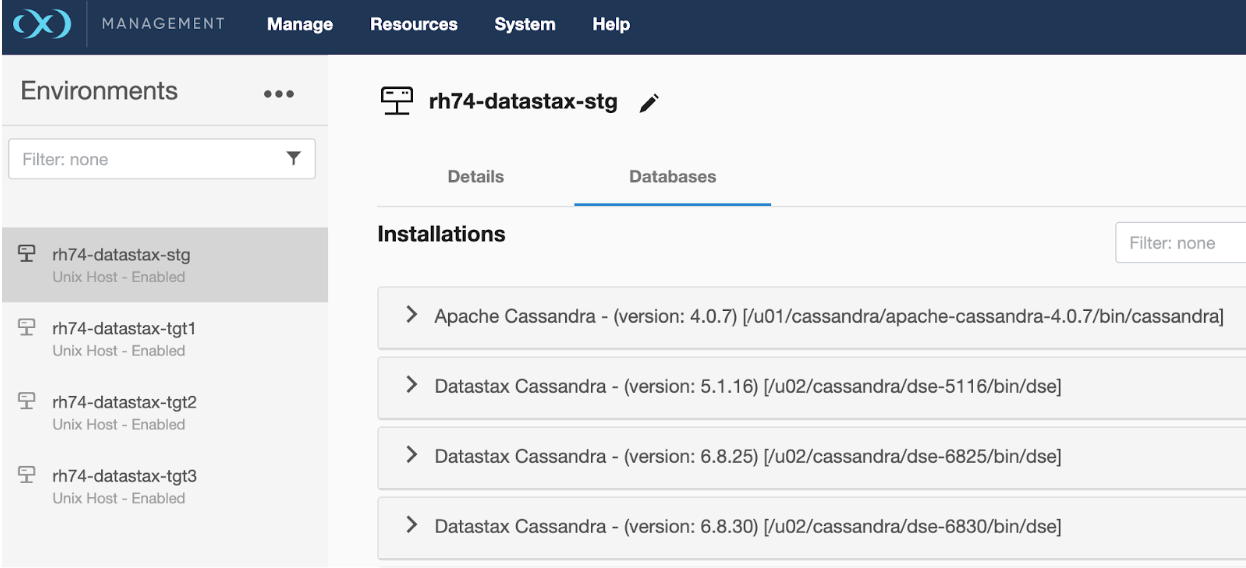
Verify the new Cassandra Binaries are discovered in the environment with the entry [DataStax Cassandra - (version: x.x.x) ].
Disable dSource by navigating to Manage Datasets > Select dSource > disable.
Log in to the Delphix engine via CLI (ssh) interface and execute the following commands.
CODE>cd sourceconfig >select <dSource_Name> >update >set repository = <New Cassandra Binaries discovered in Step 3 > >commit;
Enable dSource by navigating to Manage Datasets >Select dSource > enable.
Take a new snapshot to validate that snapsync works as expected.
Upgrade the VDB
Periodically Lower environments are upgraded for various reasons like
To be in compliance
To mitigate bugs
Security concerns
To meet compatibility with other software.
Upgrade VDB to a higher version.
Install the new version of Cassandra Binaries on the target host.
Follow the Cassandra upgrade process to upgrade VDB to a higher version.
Refresh Target Environment in Delphix.
Verify new Cassandra Binaries are discovered in the environment with entry [DataStax Cassandra - (version: x.x.x) ].

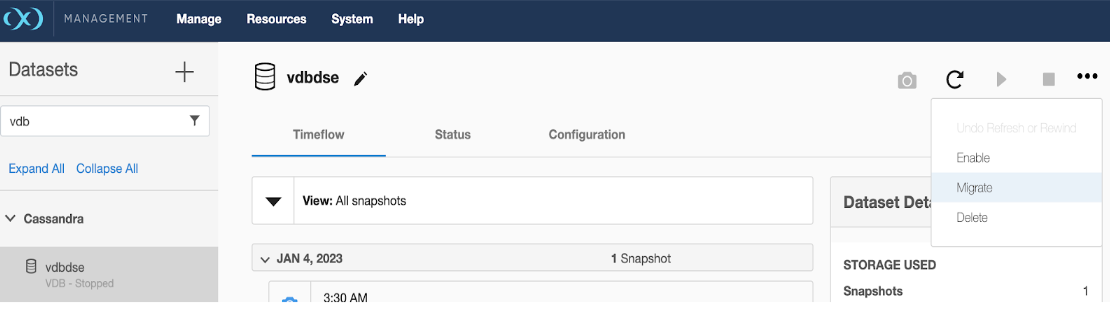
Disable VDB by navigating to Manage Datasets > Select VDB > disable.
Update VDB configuration using the Migrate option in Delphix GUI.
Navigate to Manage Datasets > Select VDB > Migrate.
Select Correct Environment.
Select Correct CASSANDRA repository under Installation where you wish to migrate VDB.
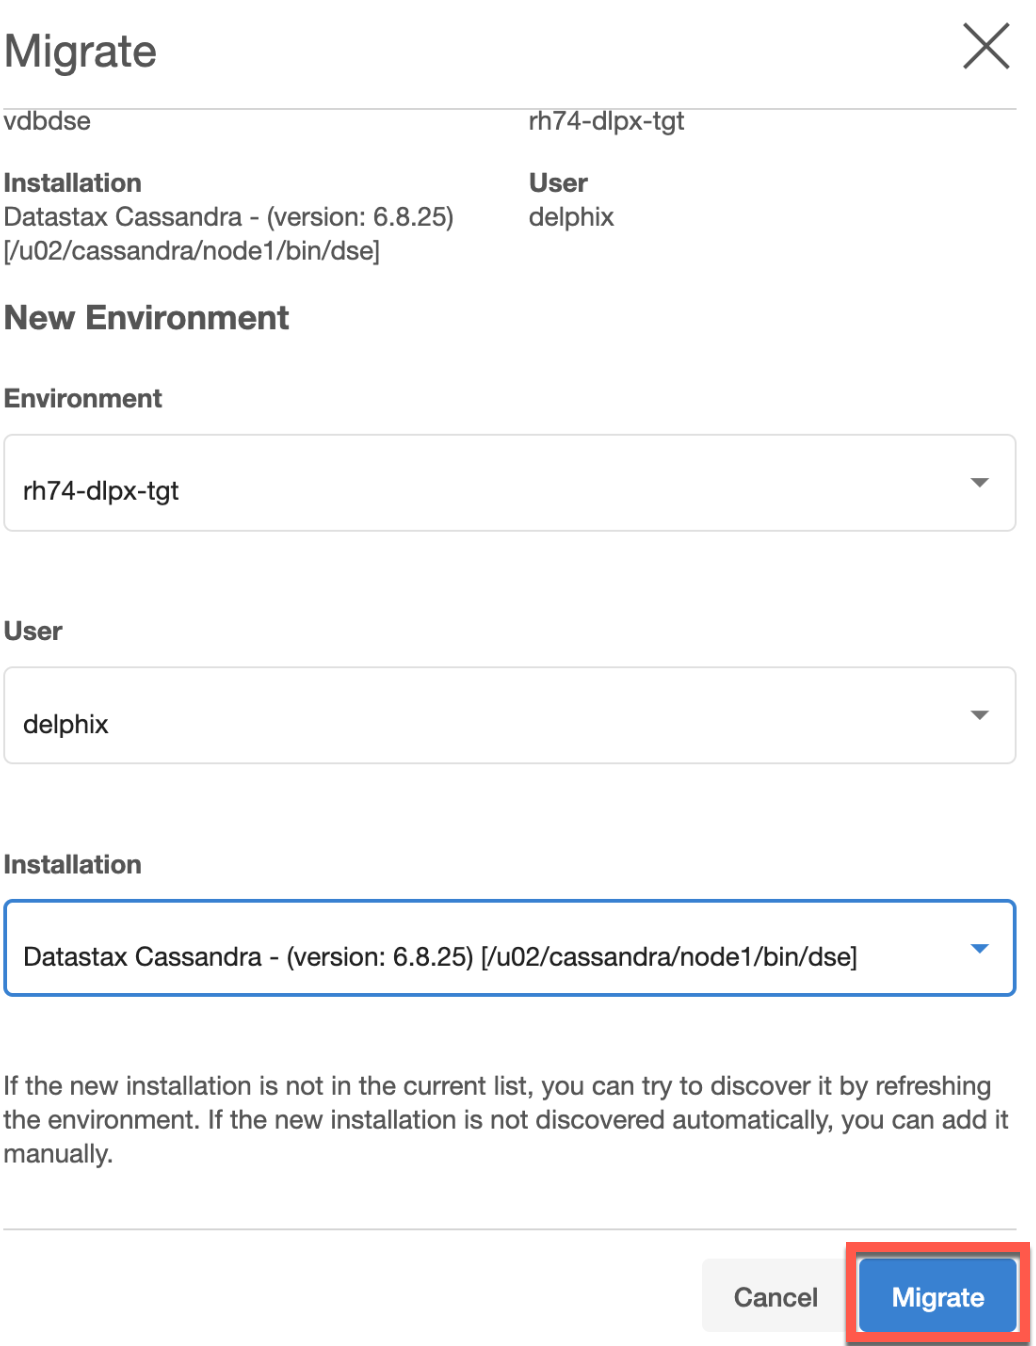
Click Migrate.
Enable VDB by navigating to Manage Datasets >Select VDB >enable.
Take a new snapshot to validate that the VDB snapshot works as expected.