
This topic describes how to add a HANA environment.
Prerequisites
-
Make sure that the HANA environment in question meets the requirements described in Requirements for HANA Staging Hosts and Databases and Requirements for HANA Target Hosts and Databases
Procedure
-
Login to the Delphix Management application.
-
Click Manage.
-
Select Environments.
-
Next to Environments, click the Actions (...) menu and select Add Environment.
-
In the Add Environment dialog, In the Host OS select Unix/Linux on the menu.
-
In Server Type, select Standalone Host.
-
Click Next.
-
Enter Name for the environment.
-
Enter the Host IP address or fully qualified hostname.
-
Enter the SSH port. The default value is 22.
-
Enter an OS Username for the environment which should be ‘’.>’.>
-
Select Login Type.
Note:
Currently, the Enterprise Password Vault option is not supported. -
Username and Password - enter the OS username and password
-
Username and Public Key - enter the OS username.
-
Password Vault - select from an existing Enterprise Password Vault
Using public key authentication
If you want to use public-key authentication for logging into your Unix-based environment, there are two options: use the engine's key pair or provide a key pair for this environment.
To use the engine's key pair:
-
Select Public Key for the Login Type.
-
Click View Public Key.
-
Copy the public key that is displayed, and append it to the end of your
~/.ssh/authorized_keysfile. If this file does not exist, you will need to create it.-
Run chmod 600 ~/.ssh/authorized_keys to allow only the file's owner to read and write to it (make sure the file is owned by the user).
-
Run chmod 755 ~ to restrict access to the user's home directory so no other user may write to it.
-
Run chmod 700 ~/.ssh so that others cannot write to it. The ~/.ssh directory cannot be writable by group or other users. Otherwise, authentication will fail.
-
As an alternative, you can provide a key pair specific for this environment via the API or CLI. See CLI Cookbook: VDBs for instructions.
-
For Password, enter the password associated with the user in step 11.
-
Select Public Key for the Login Type.
-
Click View Public Key.
-
Copy the public key that is displayed, and append it to the end of your
~/.ssh/authorized_keysfile. If this file does not exist, you will need to create it.-
Run chmod 600 ~/.ssh/authorized_keys to allow only the file's owner to read and write to it (make sure the file is owned by the user).
-
Run chmod 755 ~ to restrict access to the user's home directory so no other user may write to it.
-
Run chmod 700 ~/.ssh so that others cannot write to it. The ~/.ssh directory cannot be writable by group or other users. Otherwise, authentication will fail.
-
-
For Password Login, click ‘Validate’ to test the username and password.
-
Enter a Plugin Path. The location specified must be a string without spaces. Ensure this directory path exists on the host in question. Environment discovery will fail if the directory does not exist on the host.
-
To provide your own Oracle Java select the Provide my own JDK checkbox and click Next.
-
In the Java Development Kit tab enter the absolute path to your Oracle JDK and click Next. For more information, see Providing Your Own Oracle Java
-
Click Submit. On success, the new environment will be added to the list in the Environments tab.
-
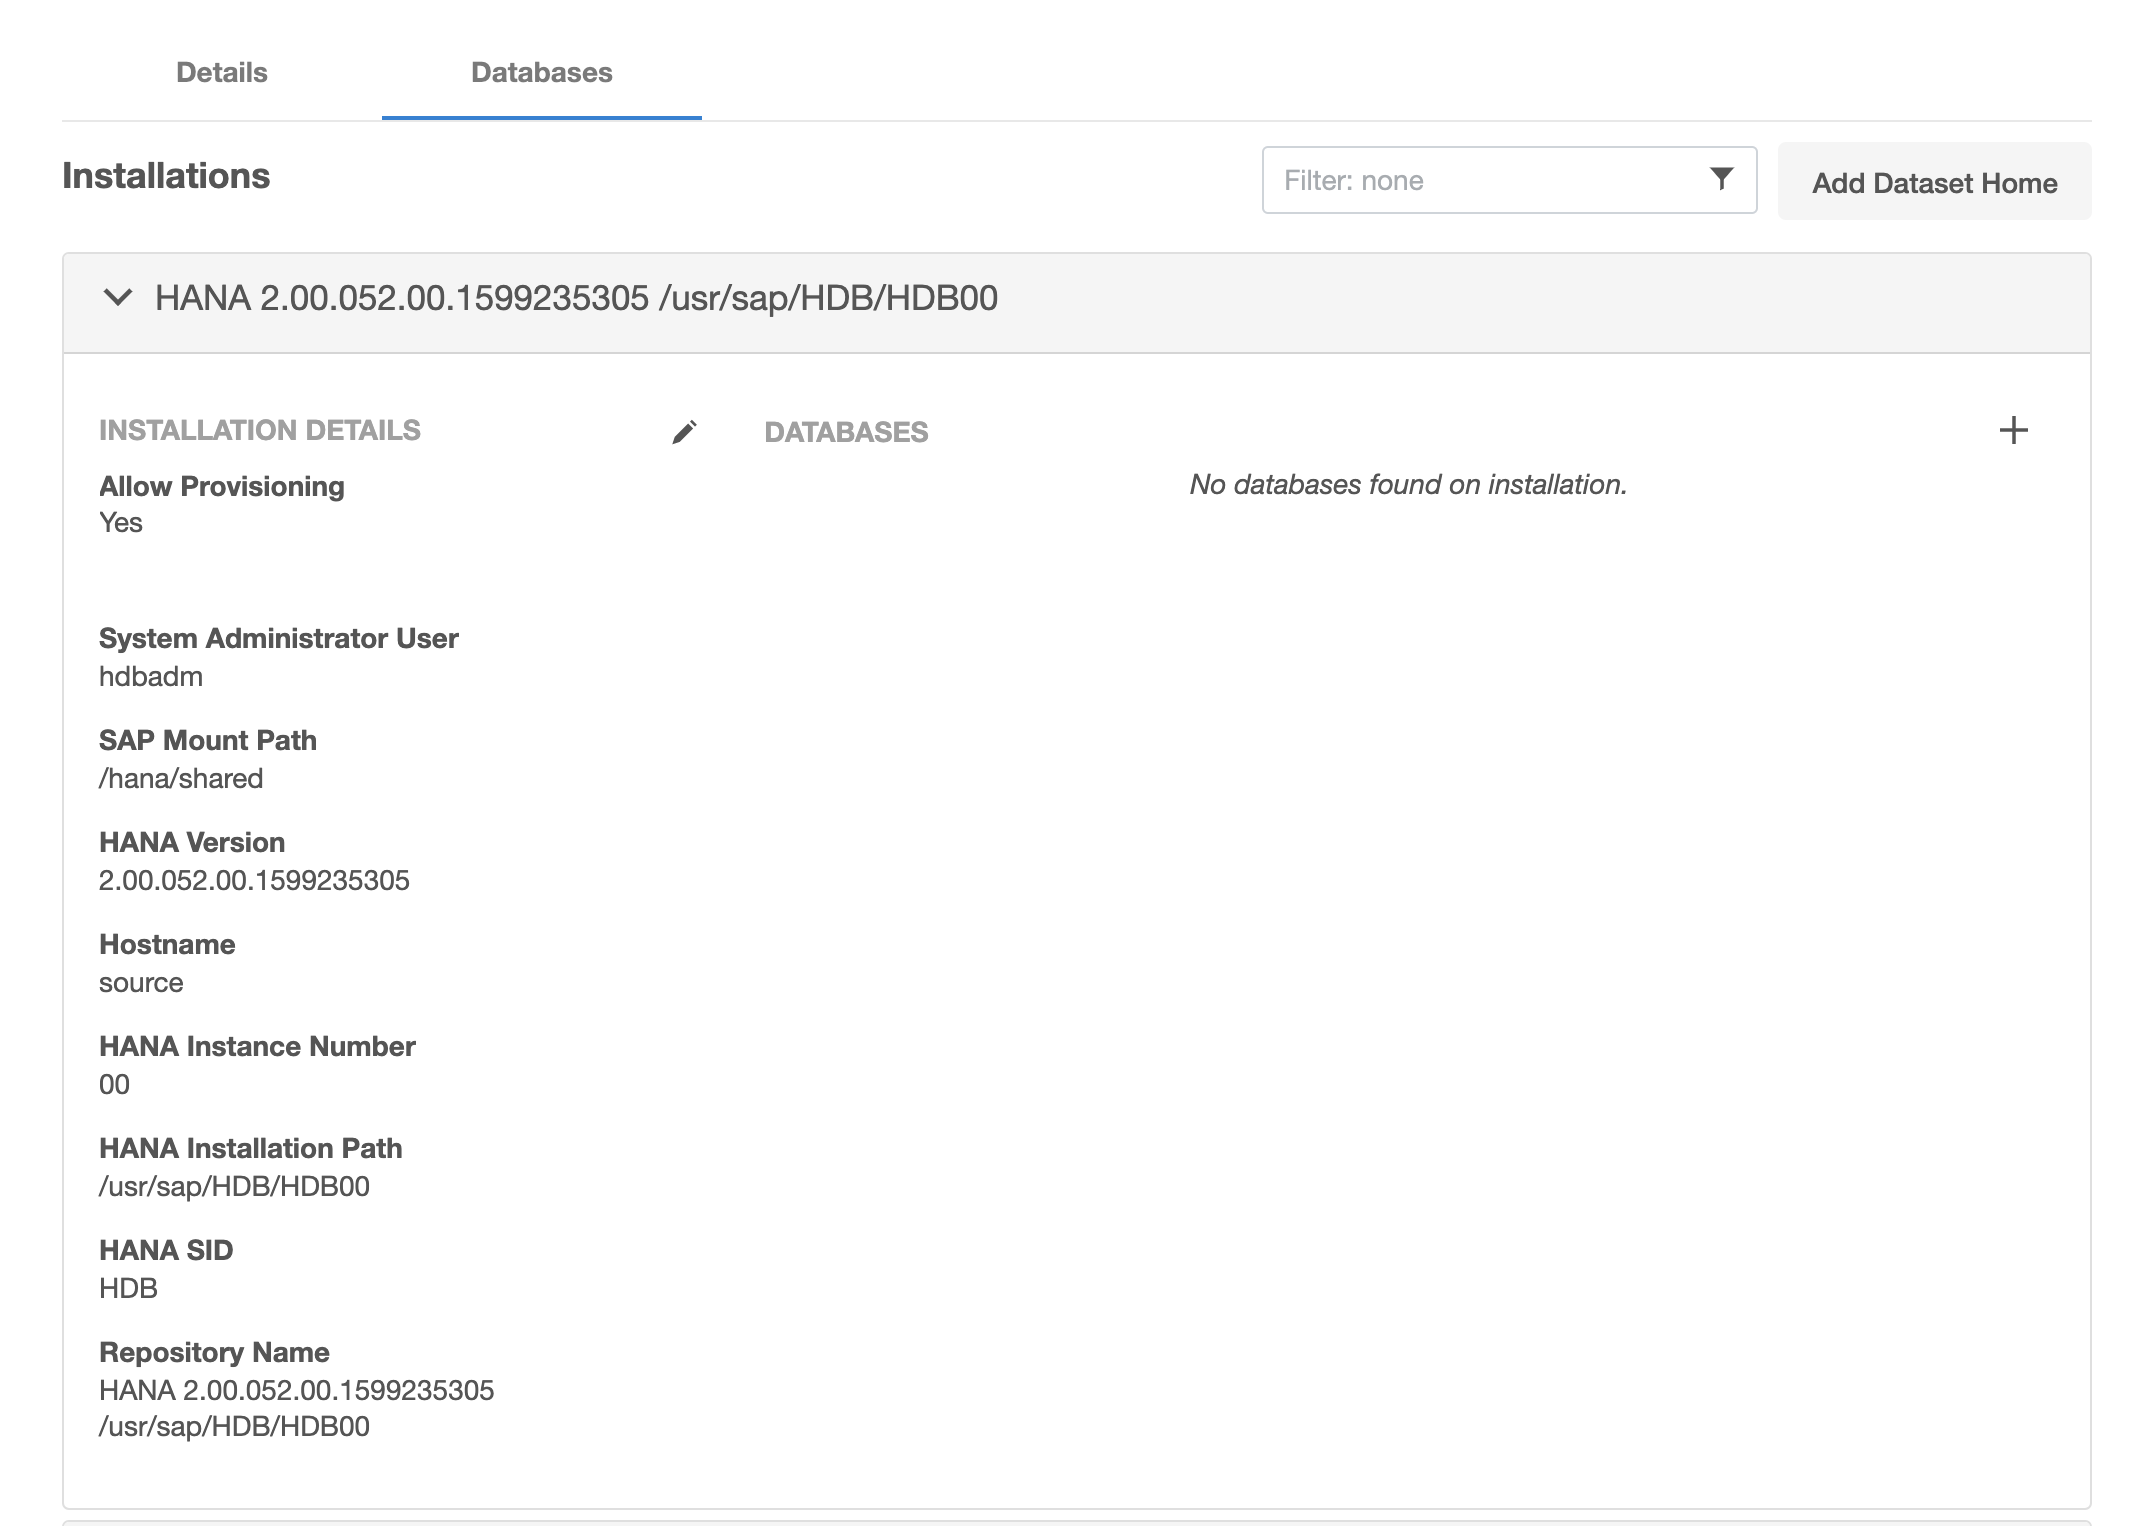
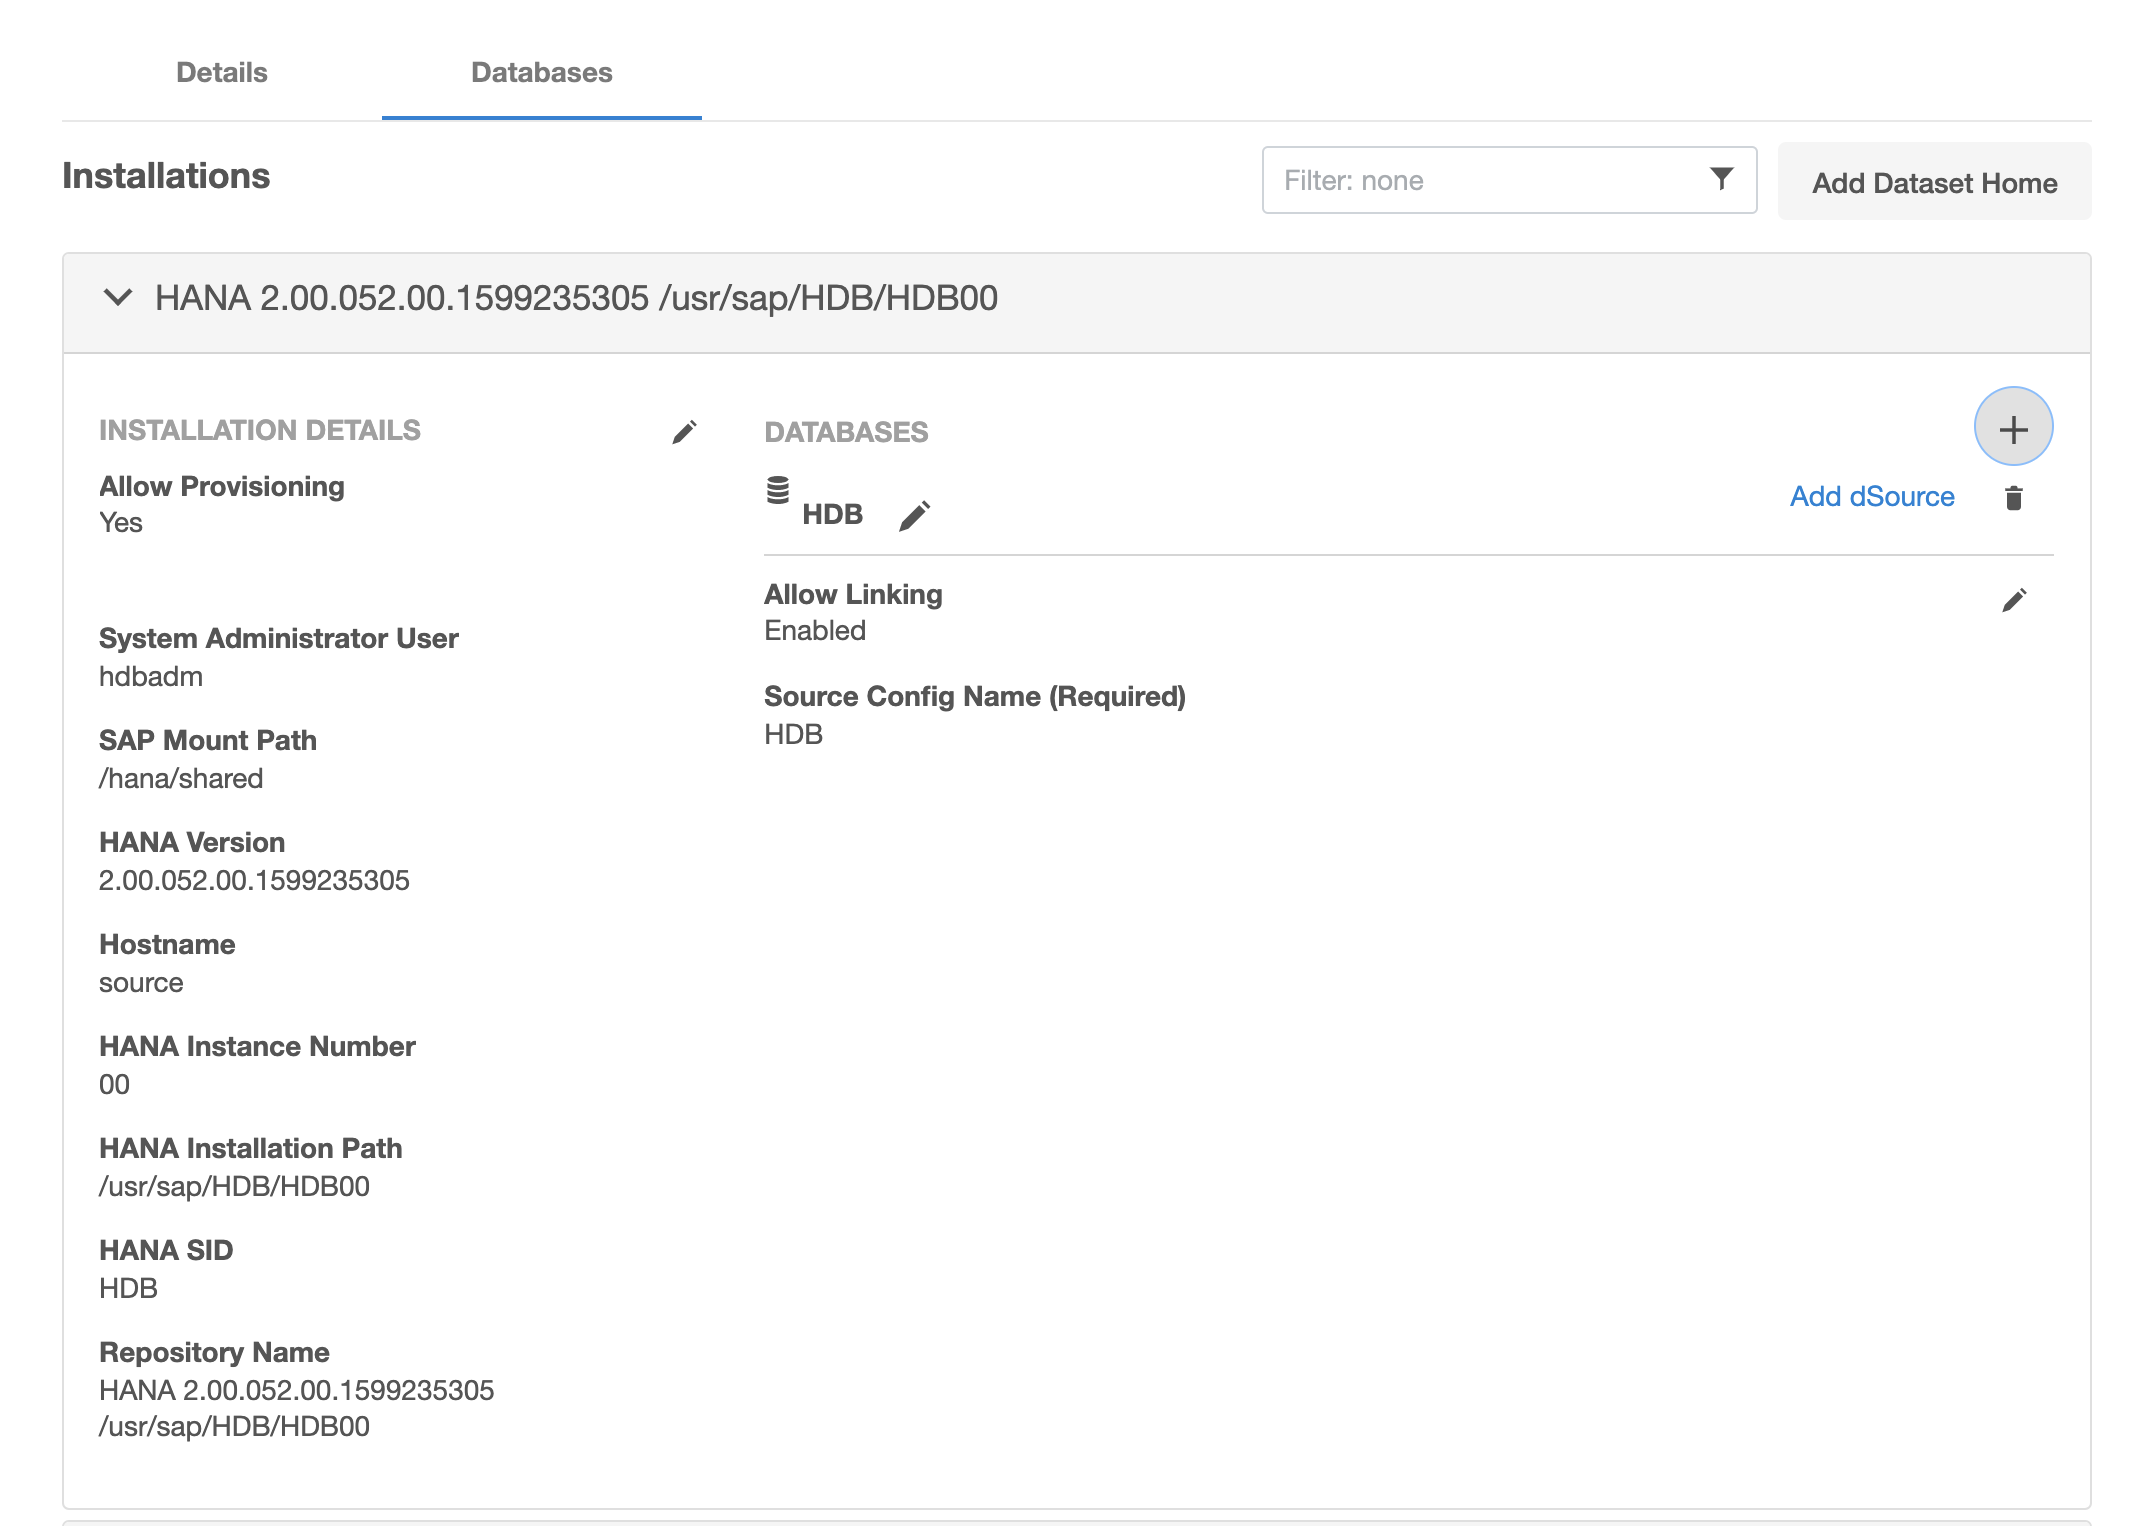
Select the “Databases” tab to view discovered HANA databases:
Post-requisites
To view information about an environment after you have created it:
-
Click Manage.
-
Select Environments.
-
Select the environment name.